Internet Controlled LED part 2 -- Suvin

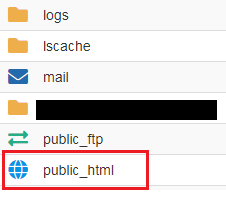
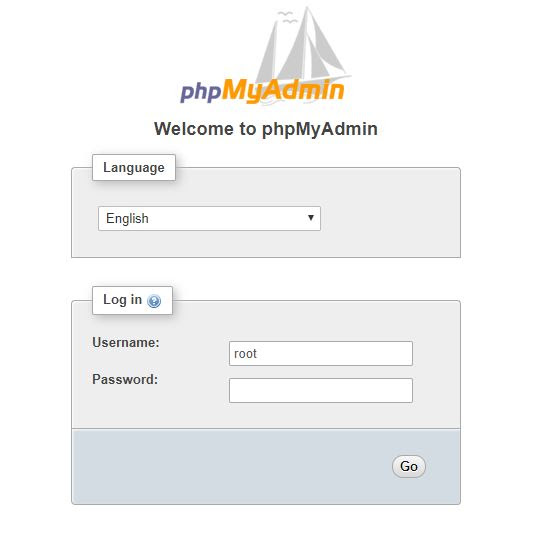
Internet Controlled LED part 2 -- Suvin I showed you how to setup the basics for the project in my previous article. So now I'm gonna walk you through the next part. Step 3: Setting up the web server In the web server we need to host our JSON (Java Script Object Notation) File. Once the ESP8266 is connected to the internet, It reads this JSON file and determine is the light is turned on or off. Open your Notepad or the text editor you got on your PC ans type this. {"light":"on"} Actually we don't need anything to write on the JSON file because it is linked to the ON and OFF buttons and it writes automatically. But I wrote this just for show you what it is look like. Once you type the above, save the file and name it with light.json. Now you need a good web hosting service. I recommend "000 webhost". Its free and easy to setup. I'm not gonna show you how to host a file on 000 webhost now because there's a plenty of tuto...
