Java Database Connection by- Suvin Nimnaka
Many people still wander off internet finding a correct way to initiate MySQL Connection in their Java project. As a beginner I myself used to go through Internet hours and hours looking for a working method. So here's what I found and so far its been working without a problem. If there's issues feel free to comment below.
I'm gonna use Wamp server and NetBeans for this project.
Creating Database
Before you start, open wamp server and initiate localhost. After that type "localhost/phpmyadmin" in your web browser's address bar and it will open phpmyadmin homepage.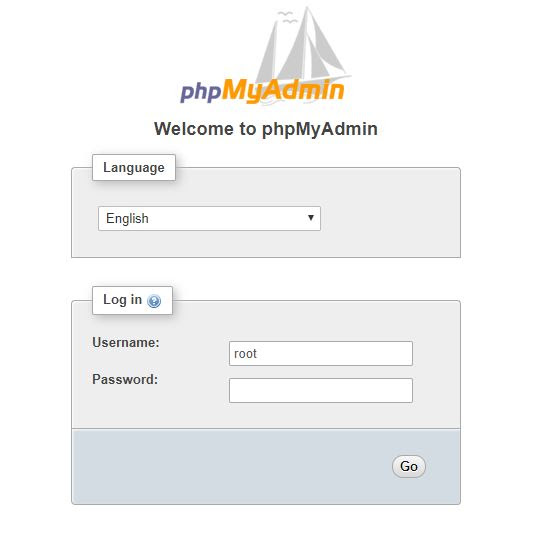
We are going to use root login for this. As you already know the username is root and the there's no password needed for root user by default. And press Go button. This will open databases page.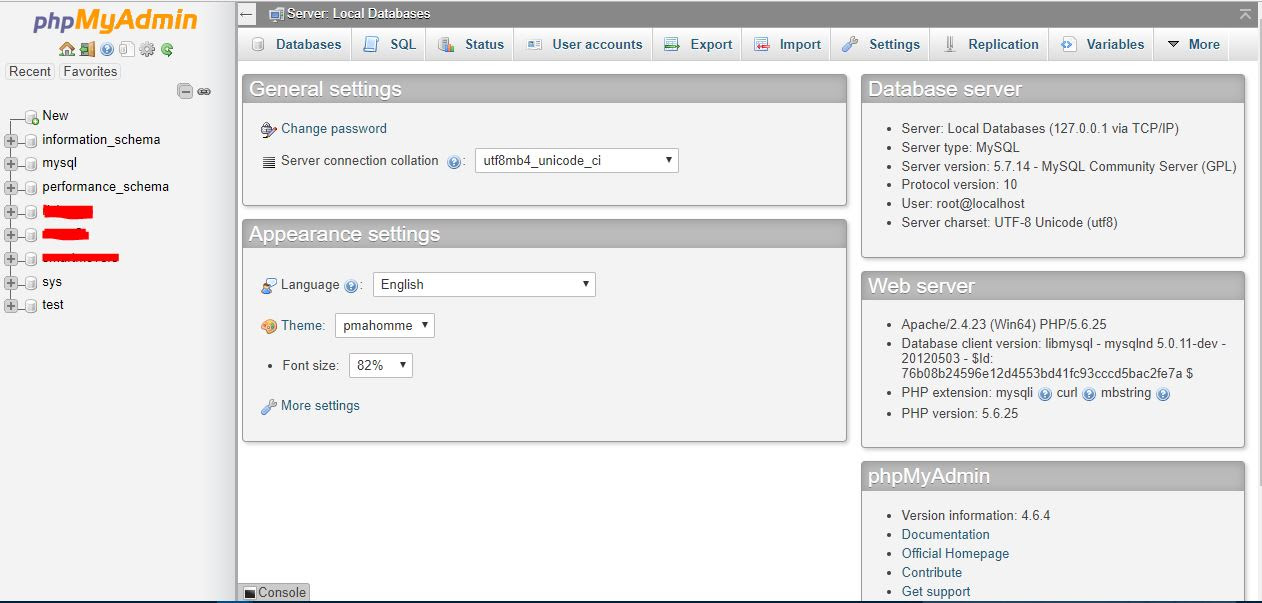
Okay now you have to make a database and a table inside the database to connect with Java class. For this click on SQL tab on Databases page and you will see a terminal for SQL queries.

In my case I'm going to make a database named Customer and a table named details. And I'll have c_name , phone_no and address as table columns.
So Ill execute this query to create the database. "CREATE DATABASE customer" Type this in the terminal and hit Go
And then click on the database you created on the left menu and click on the SQL tab again.

Execute the following query. (without quotes)
"CREATE TABLE details(
c_name TEXT, #this field is a text field
phone_no INT(10),#this is a Integer field and limits user input to 10 digits
address TEXT #this field is a text field
) "
This will create the table and we are done with the database now.
Java Code
Open Netbeans and start a new project. My project I'm gonna call "customer". Create a JFrame Form and design an interface with 3 JLabels and 2 JTextFields for user input and a JButton to submit data. (I'm not going to explain interface designing)
Here's my interface and variable names. 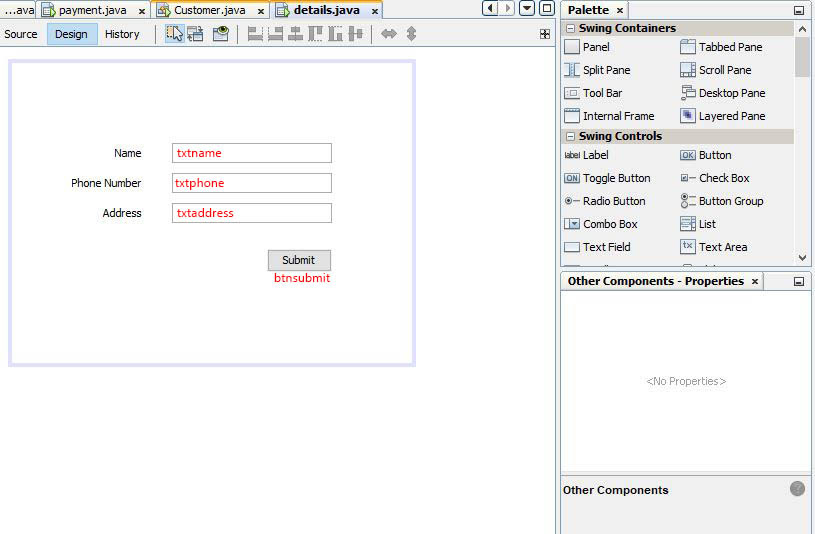
Installing mysql connector
In order to initiate MySQL connection, you need a JDBC driver.(Java DataBase Connectivity driver) Since we are using MySQL, first we need to download and install the driver.
Navigate to this url from your web browser.
https://dev.mysql.com/downloads/connector/j/5.1.html

Download "Platform independent ZIP archive ". Once it downloads, extract the ZIP file into a folder.
Go to NetBeans again. In the left menu, you can see your project name. Like this.

Right click on the project name and select Properties. From the properties window, click on Libraries. Then click on "Add JAR/Folder" button which you can find to your right side.

Navigate to the folder you extracted MySQL Driver earlier and select "mysql-connector-java-5.1.46" (5.1.46 is the version number. It'll be different if you download a new version) . Click Open and you can see the driver is installing. 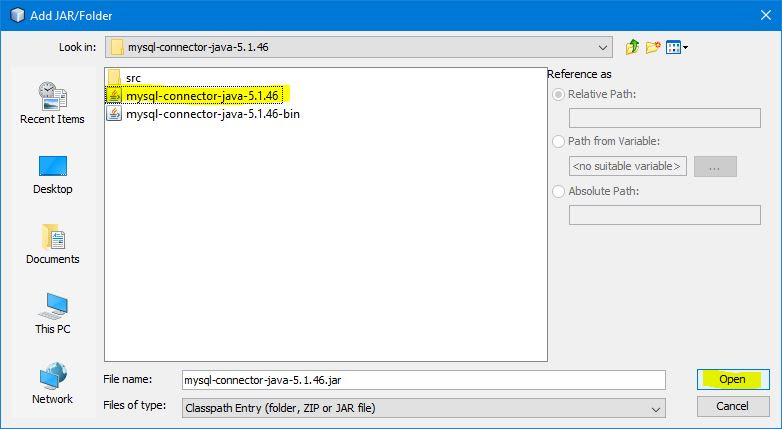
Now you successfully installed the JDBC Driver.
Java coding
Go to the interface design you made earlier. double click on submit button and It'll open the source window for Click event of your Submit button.
Go to the top of the source window and import Java Sql class.
import java.sql.*;
First I'm calling the data from JTextFields to some variables.

phone is an Integer variable and from a JTextField, you get a String value. So I used Integer.parseInt() to convert String data input into Integer.
Then you need to initiate the database connection.

"Host" is the URL of your database. Replace "customer" with your own database name. "Usern" user name of the phpmyadmin account we used to create the database and "pw" is the password for the above account. Since we used root login, there will be no password. Then we have to create a new connection named "con" and initiate the connection.
Now you can see the last part of the connection, is highlighted as an error. Its because this can throw exceptions (Specifically SQL Exceptions). So we need to surround this code with a try and catch block.

Then you have to execute a SQL query in order to add user input to your database.
For that we have to create a statement. I'm gonna create a statement named "stmt". And then declare a String variable for SQL statement. Since we are going to add data, we have to use INSERT query. Type the SQL statement and then finally execute the query.

IMPORTANT: when you are inserting data from variables, make sure you input like this.
' " +variable_name+" ' (open single quote, open double quote, plus mark, variable_name, plusmark, close double quote, close single quote )
And you have to enter data according to the order of your columns of your database.
And finally to add some extra functionality, I'm adding a popup box for successfull execution.

Our final code will look like this.

String name = txtname.getText();
int phone = Integer.parseInt(txtphone.getText());
String address = txtaddress.getText();
String host = "jdbc:mysql://localhost:3306/customer";
String usern = "root";
String pw = "";
try {
Connection con = DriverManager.getConnection(host,usern,pw);
Statement stmt = con.createStatement();
String sql = "INSERT INTO details VALUES ('"+name+"' ,'"+phone+"' , '"+address+"' )";
stmt.executeUpdate(sql);
JOptionPane.showMessageDialog(null, "Data inserted Successfully!");
} catch (SQLException ex) {
Logger.getLogger(details.class.getName()).log(Level. SEVERE, null, ex);
}
That's it! Press Shift+ f6 and run the programme.


Comments
Post a Comment